your passion for learning.
Welcome to Our Blog
Exploring new ideas, discovering fresh perspectives, and igniting


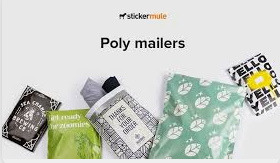
Design a Beginner Friendly Poly Mailer With Canva
Did you know that you can design a poly mailer on your own? When you need stylish poly mailers to match the positioning of your products and brand, you may find that the options available on the market don’t meet your expectations. So, what should you do? Since you’re not hiring a designer, you start searching online to see if you can design your own and how complicated it would be.
Latest post
How To Design a Beginner Friendly Poly Mailer With Canva?
Did you know that you can design a poly mailer...
Bulk & Wholesale Packaging Bags for Small and Medium eCommerce Businesses
Running a small or medium-sized eCommerce business means being on...
Packaging Trends in 2025: Innovations Shaping the Industry
Packaging plays an important role in modern commerce, not only protecting...
Buying Ready-Made Poly Mailers Is So Convenient – So Why Use Custom Ones?
In the world of e-commerce, efficiency is everything. Many sellers...
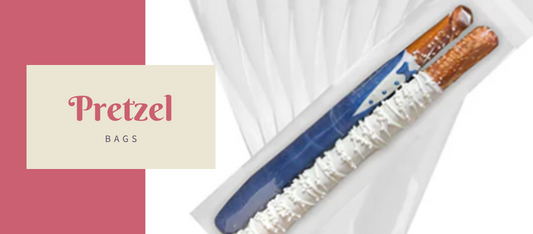
The Most Cost Effective Pretzel Bags for Small Businesses and Home Bakers
Pretzels, a traditional food brought to the United States by...

Valentine’s Day Poly Mailers: Romantic, Cost-Effective Packaging for eCommerce
Although Valentine's Day might seem like a distant event for...
Stay up-to-date.
Sign up to our newsletter and get monthly updates on products,
events and much more.
